
Table of Contents
- Why You’ll Love These Cheesy Mashed Potato Puffs
- The Secret to the Perfect Crispy and Creamy Texture
- How to Make These Golden Bites Even More Flavorful
- Creative Ways to Serve Your Cheesy Mashed Potato Puffs
- Storage and Reheating Tips for Maximum Freshness
- Key Takeaways
Key Takeaways
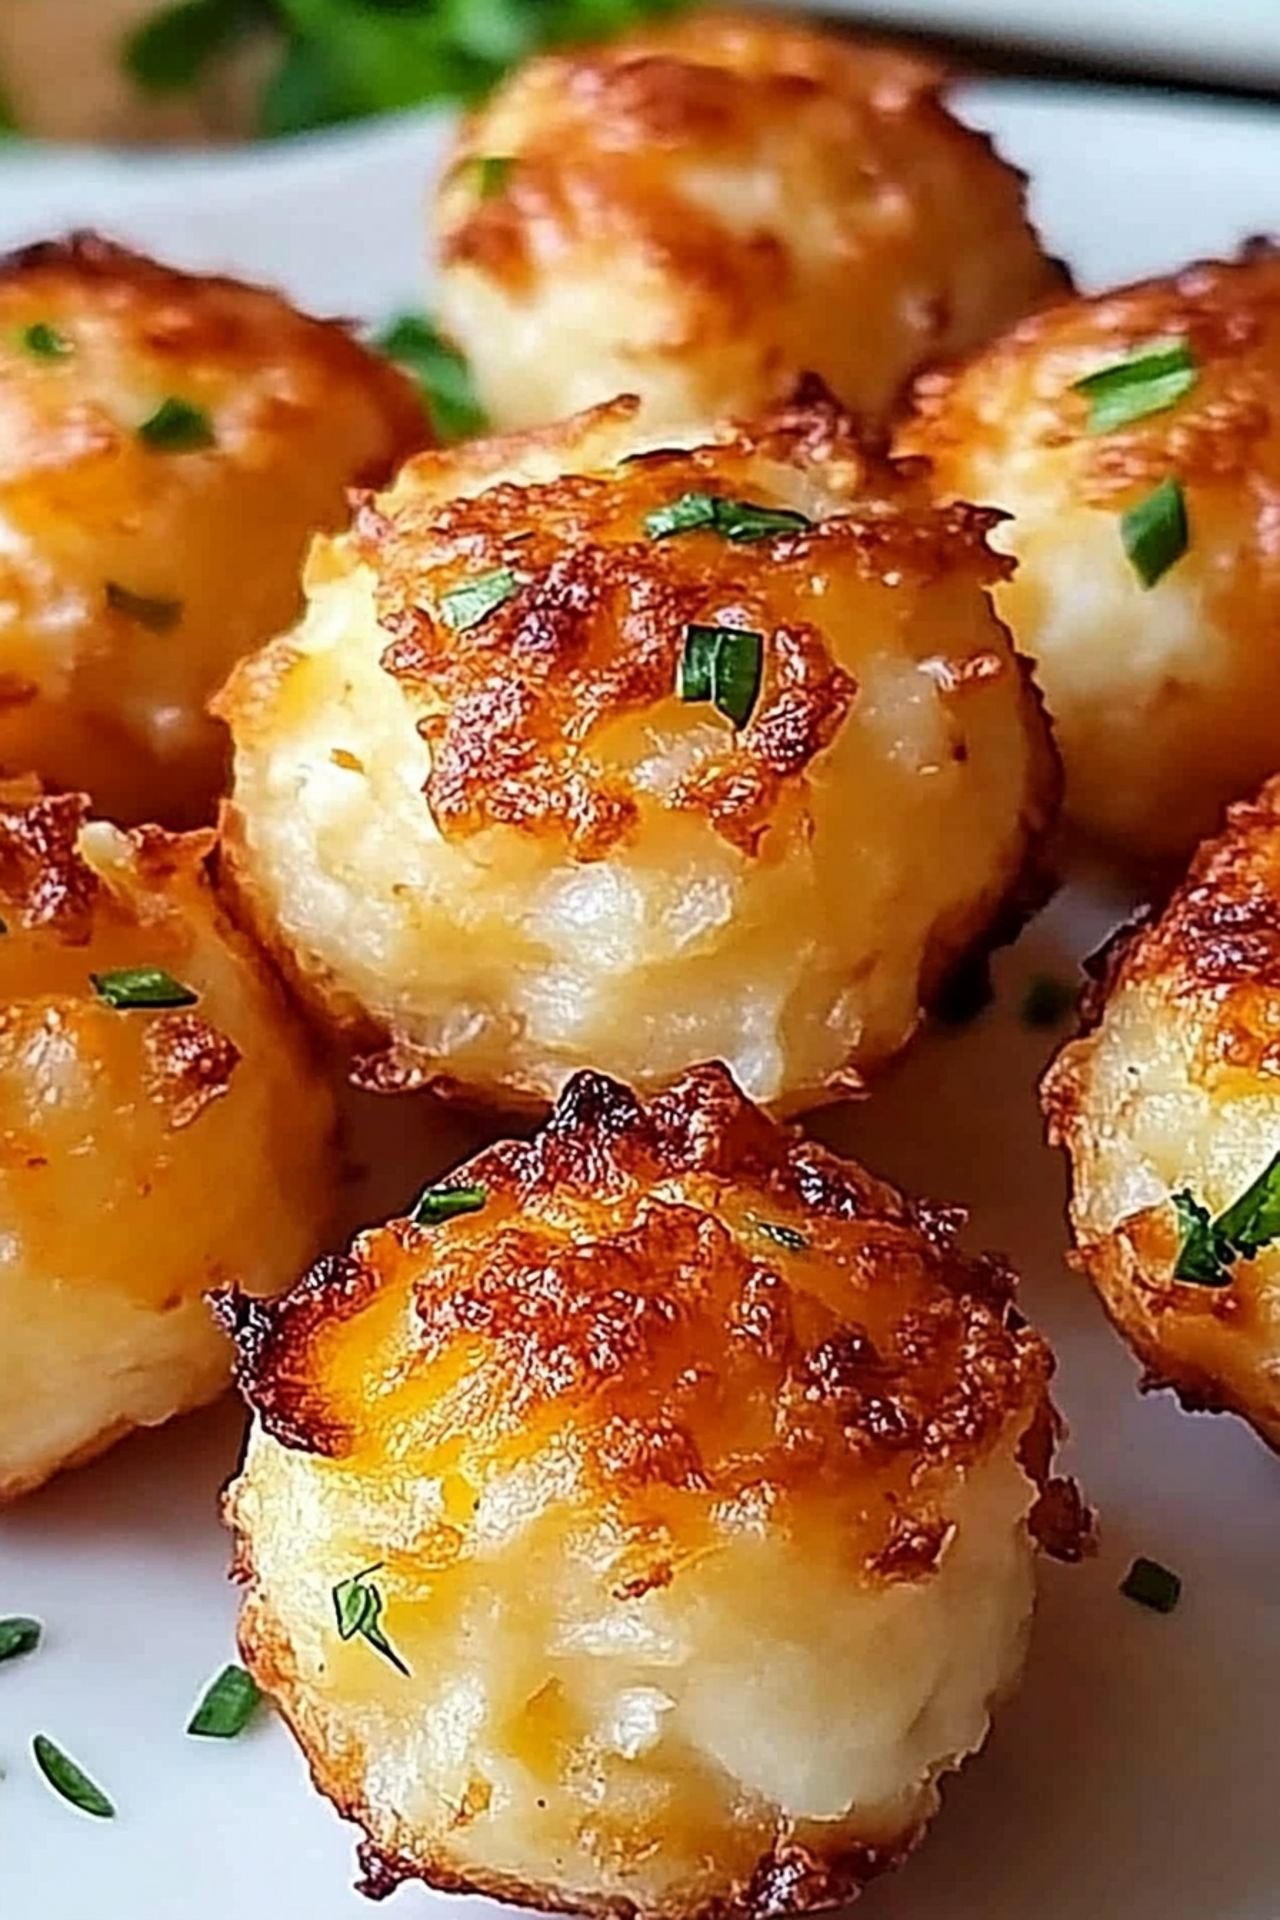
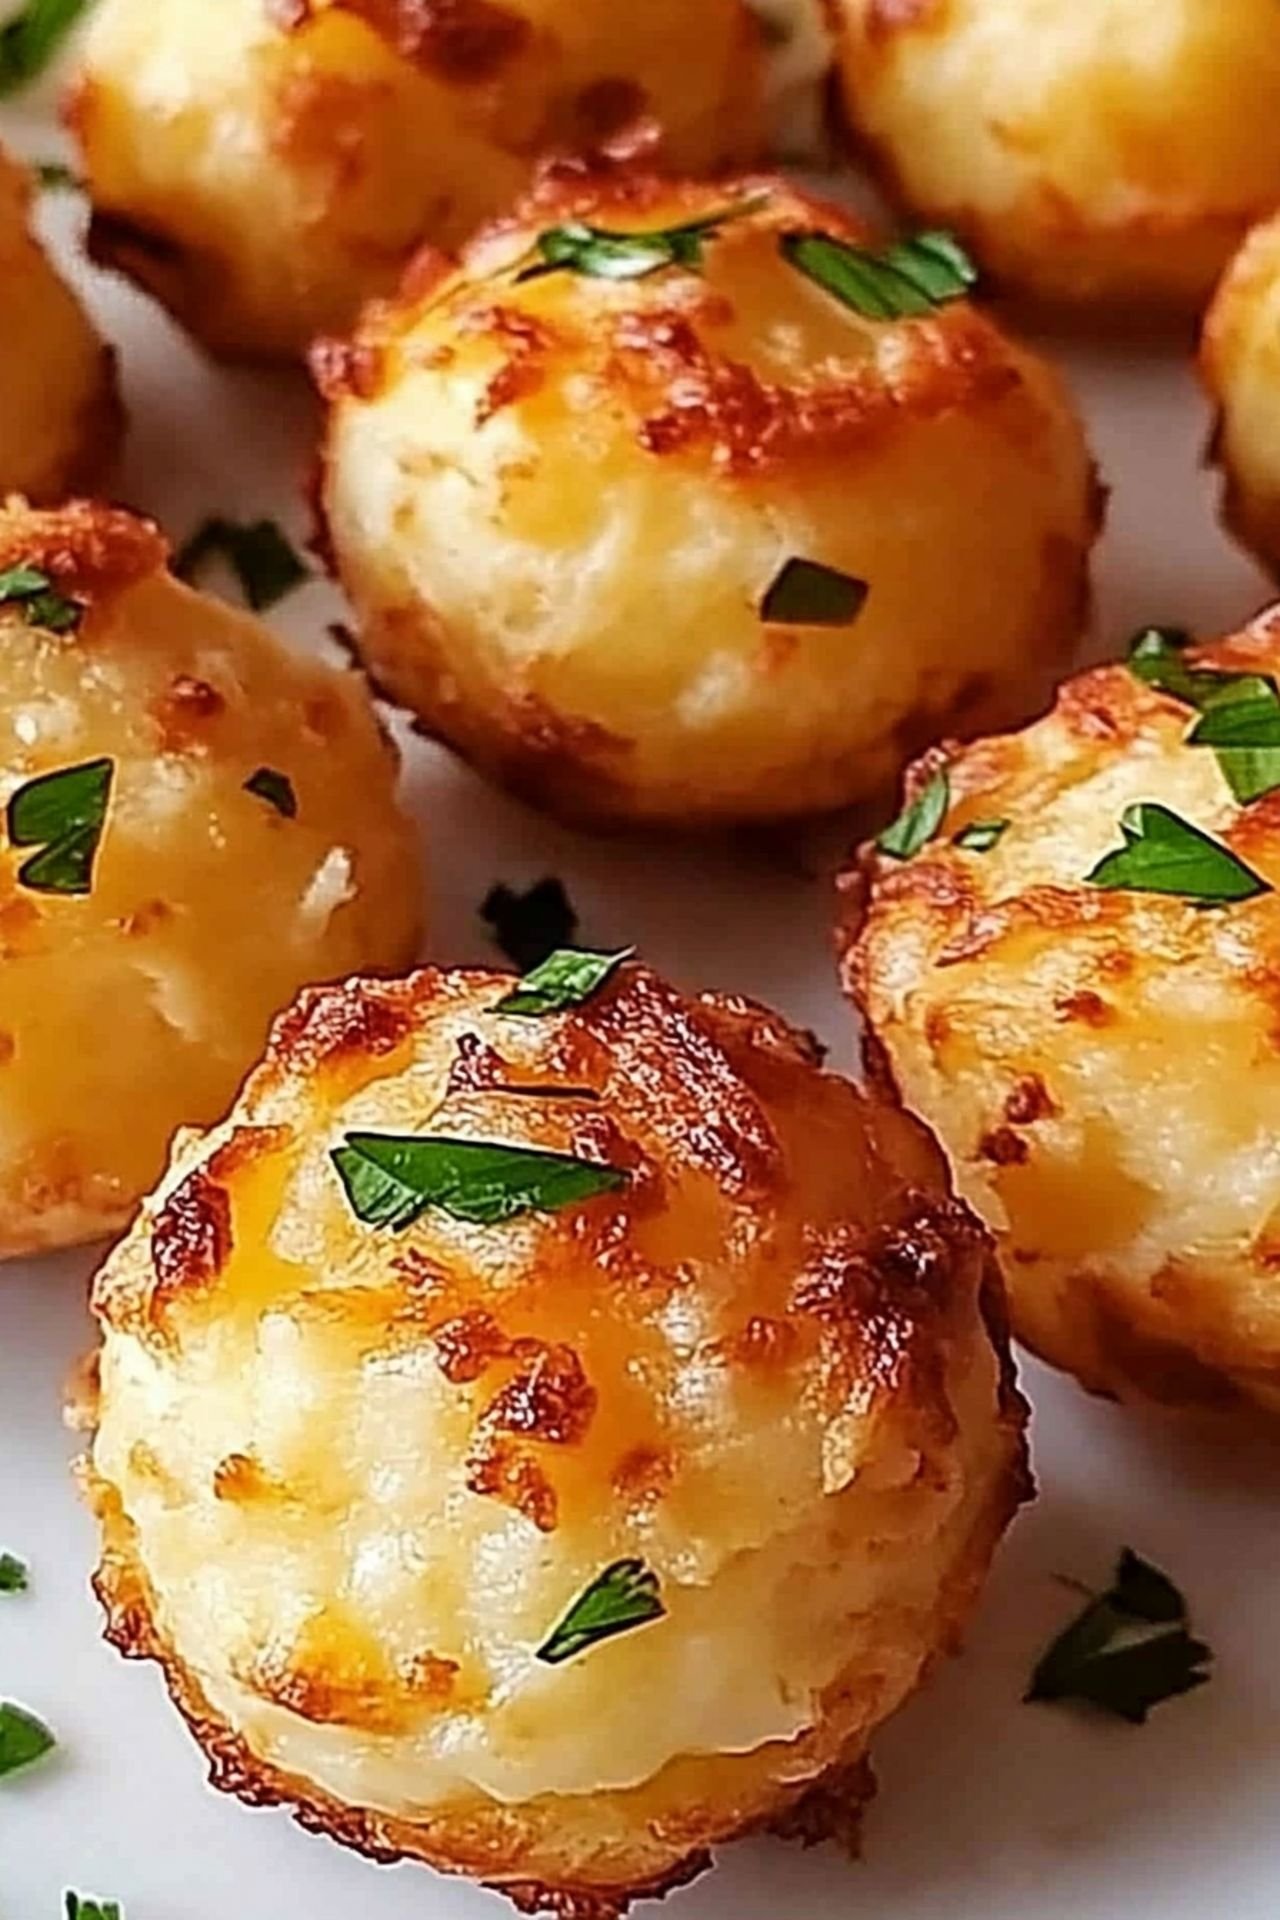
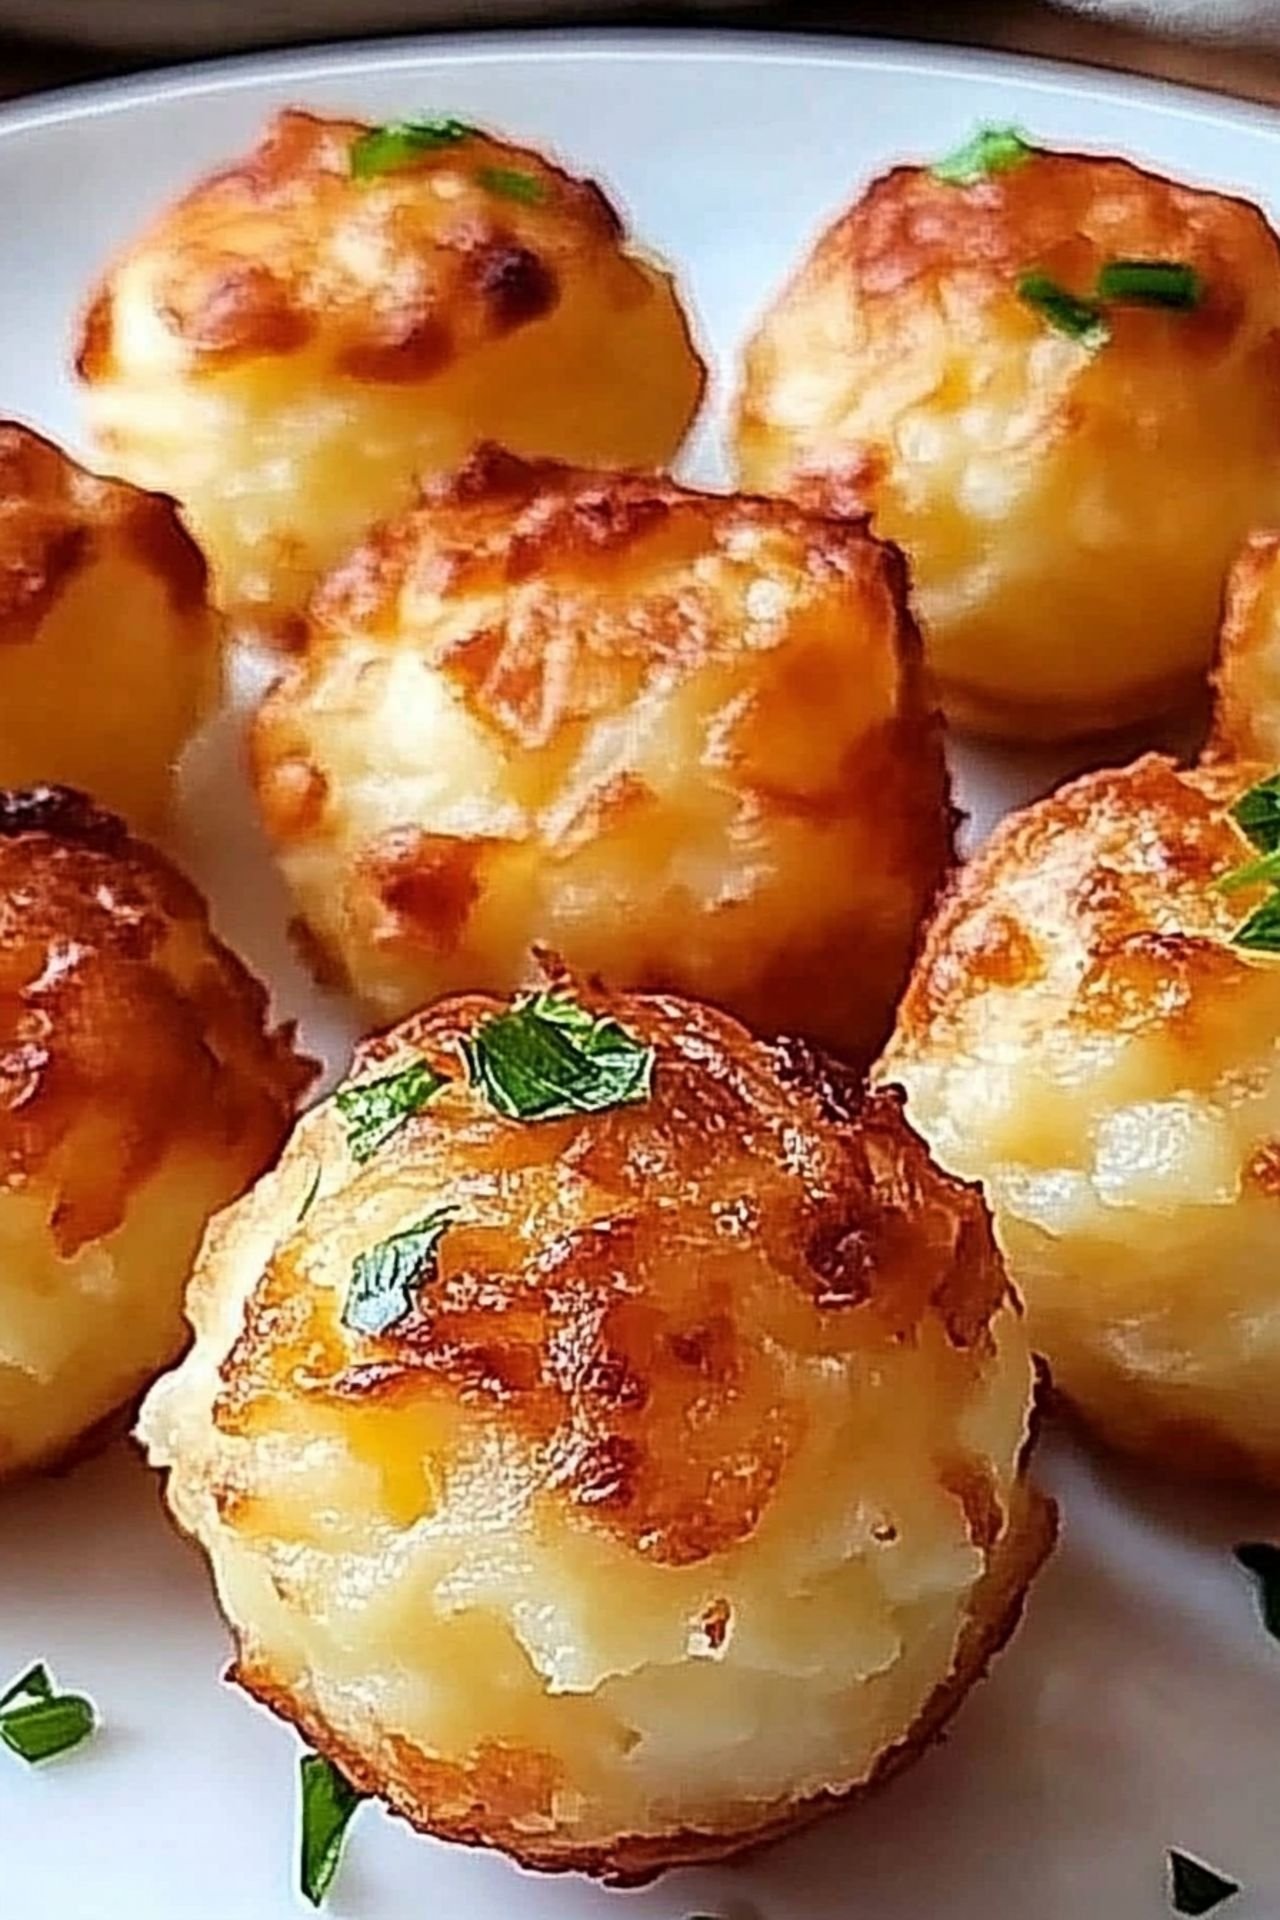
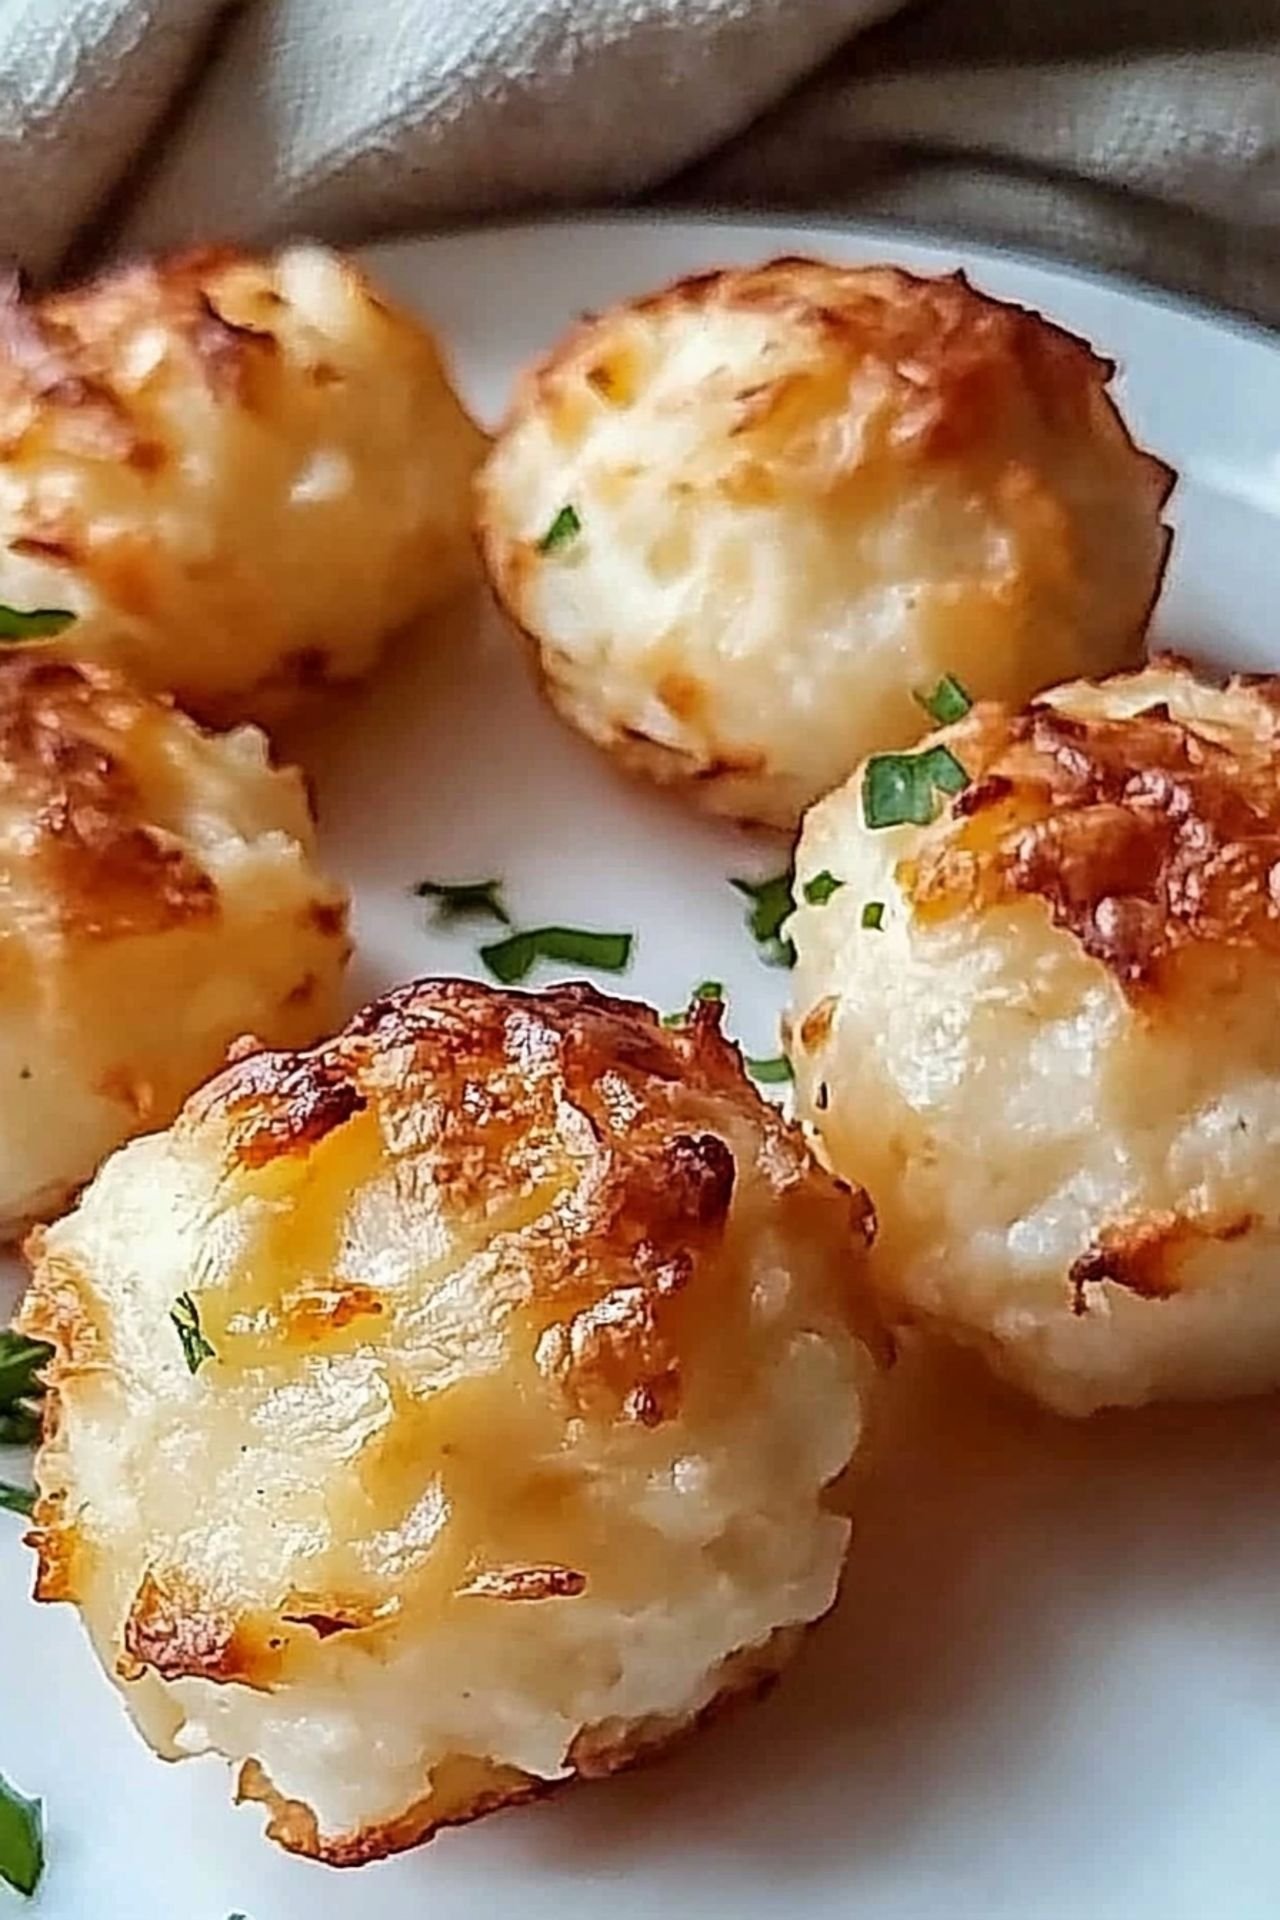
Cheesy Mashed Potato Puffs are a delicious, crispy, and creamy side dish that everyone will love. They are quick to prepare, packed with cheesy goodness, and perfect for serving at any meal. You can customize them with your favorite add-ins, store them easily, and reheat them for later enjoyment.
Why You’ll Love These Cheesy Mashed Potato Puffs
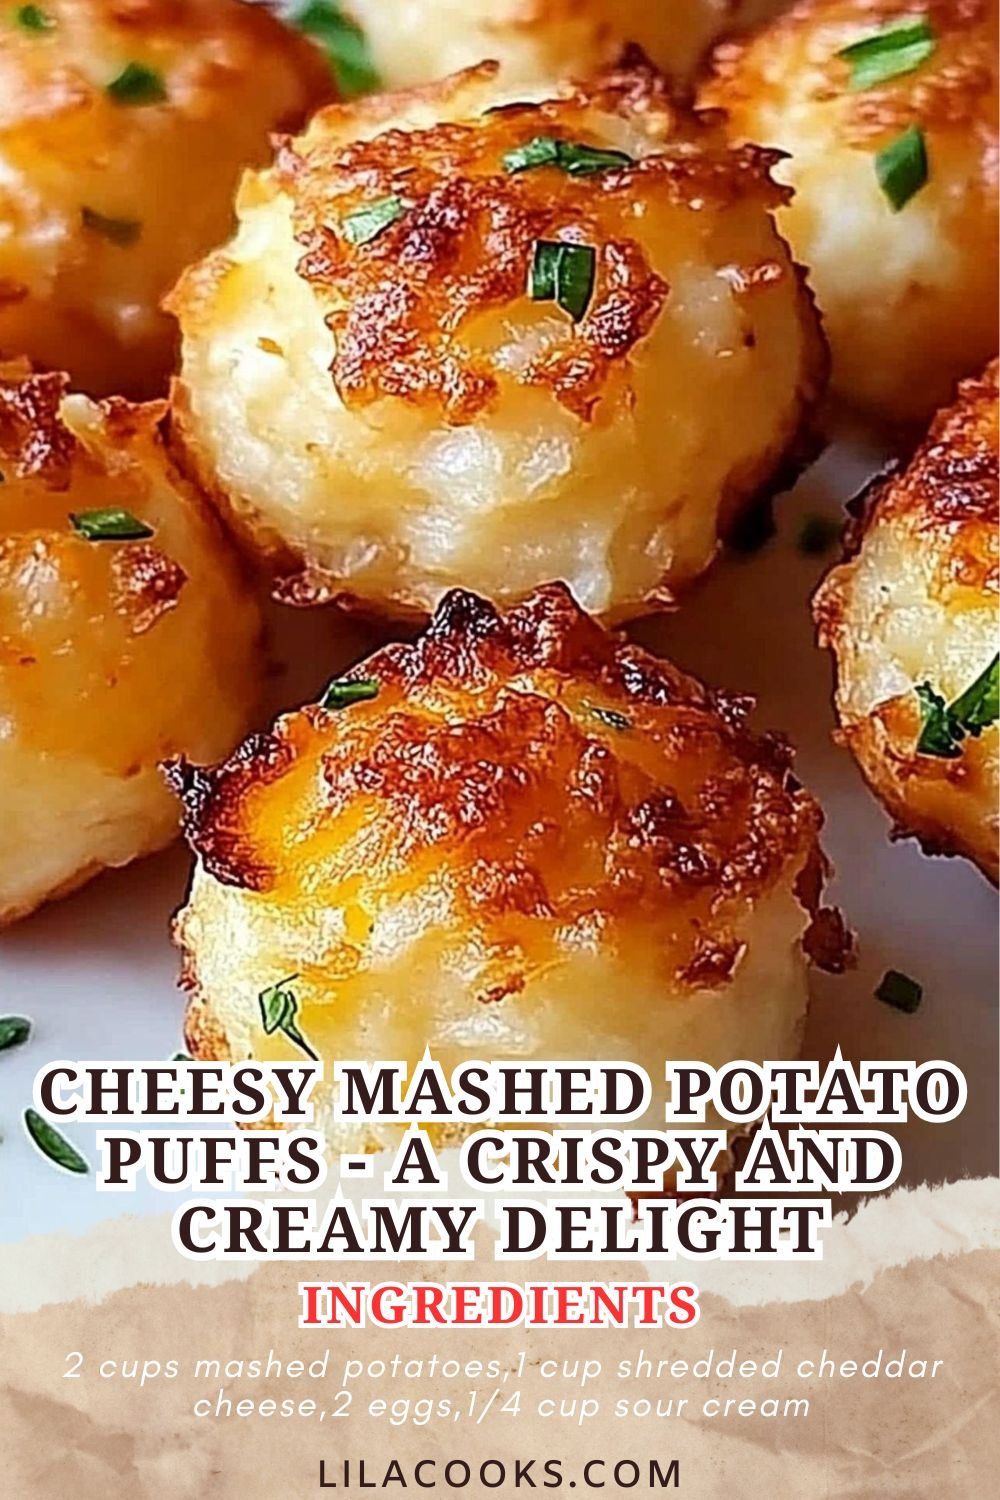
At Lila Cooks, we believe in creating recipes that bring comfort and joy to your table. These Cheesy Mashed Potato Puffs are a game-changer for any meal, whether it’s a cozy dinner at home or a special occasion. Their golden, crispy exterior perfectly complements the soft and cheesy center, making them an irresistible treat for all ages.
The Secret to the Perfect Crispy and Creamy Texture
The key to getting that ideal balance of crispy and creamy lies in using just the right ratio of mashed potatoes to cheese. A generous helping of shredded cheddar not only enhances the flavor but also ensures that beautiful golden crust when baked. Adding just enough eggs and breadcrumbs gives these puffs the perfect structure while keeping them airy and light.
How to Make These Golden Bites Even More Flavorful
Looking to take these cheesy potato bites to the next level? Try adding some crumbled cooked bacon for a smoky touch, or a pinch of smoked paprika for an extra depth of flavor. You can also experiment with different cheeses like mozzarella for a gooier texture or parmesan for a sharper taste.
Creative Ways to Serve Your Cheesy Mashed Potato Puffs
These potato puffs are incredibly versatile! Serve them as an appetizer with a side of sour cream and chives, or pair them with a hearty main dish like grilled chicken. They also make a fantastic brunch addition—just serve them alongside eggs and fresh fruit for a well-rounded meal.
Storage and Reheating Tips for Maximum Freshness
Want to enjoy these delicious bites later? Store them in an airtight container in the refrigerator for up to three days. To reheat, pop them in the oven at 350°F for 10 minutes, or use an air fryer to restore that perfect crispiness. You can even freeze them for longer storage—just reheat them straight from the freezer for a quick and satisfying snack.
For more delicious and easy-to-make recipes, visit Lila Cooks and explore a variety of flavorful dishes to try at home!

Cheesy Mashed Potato Puffs – A Crispy and Creamy Delight
Ingredients
- 2 cups mashed potatoes
- 1 cup shredded cheddar cheese
- 2 eggs
- 1/4 cup sour cream
- 1/2 teaspoon garlic powder
- 1/2 teaspoon salt
- 1/4 teaspoon black pepper
- 1/4 cup chopped chives
- 1/2 cup breadcrumbs
- Cooking spray
Instructions
- Preheat the oven to 375°F (190°C) and grease a muffin tin with cooking spray.
- In a bowl, mix the mashed potatoes, cheese, eggs, sour cream, garlic powder, salt, and pepper until well combined.
- Fold in the chopped chives and breadcrumbs.
- Spoon the mixture into the prepared muffin tin, filling each cup about three-quarters full.
- Bake for 25-30 minutes, or until the tops are golden brown and crispy.
- Let cool for a few minutes before serving. Enjoy!


Leave a Comment