
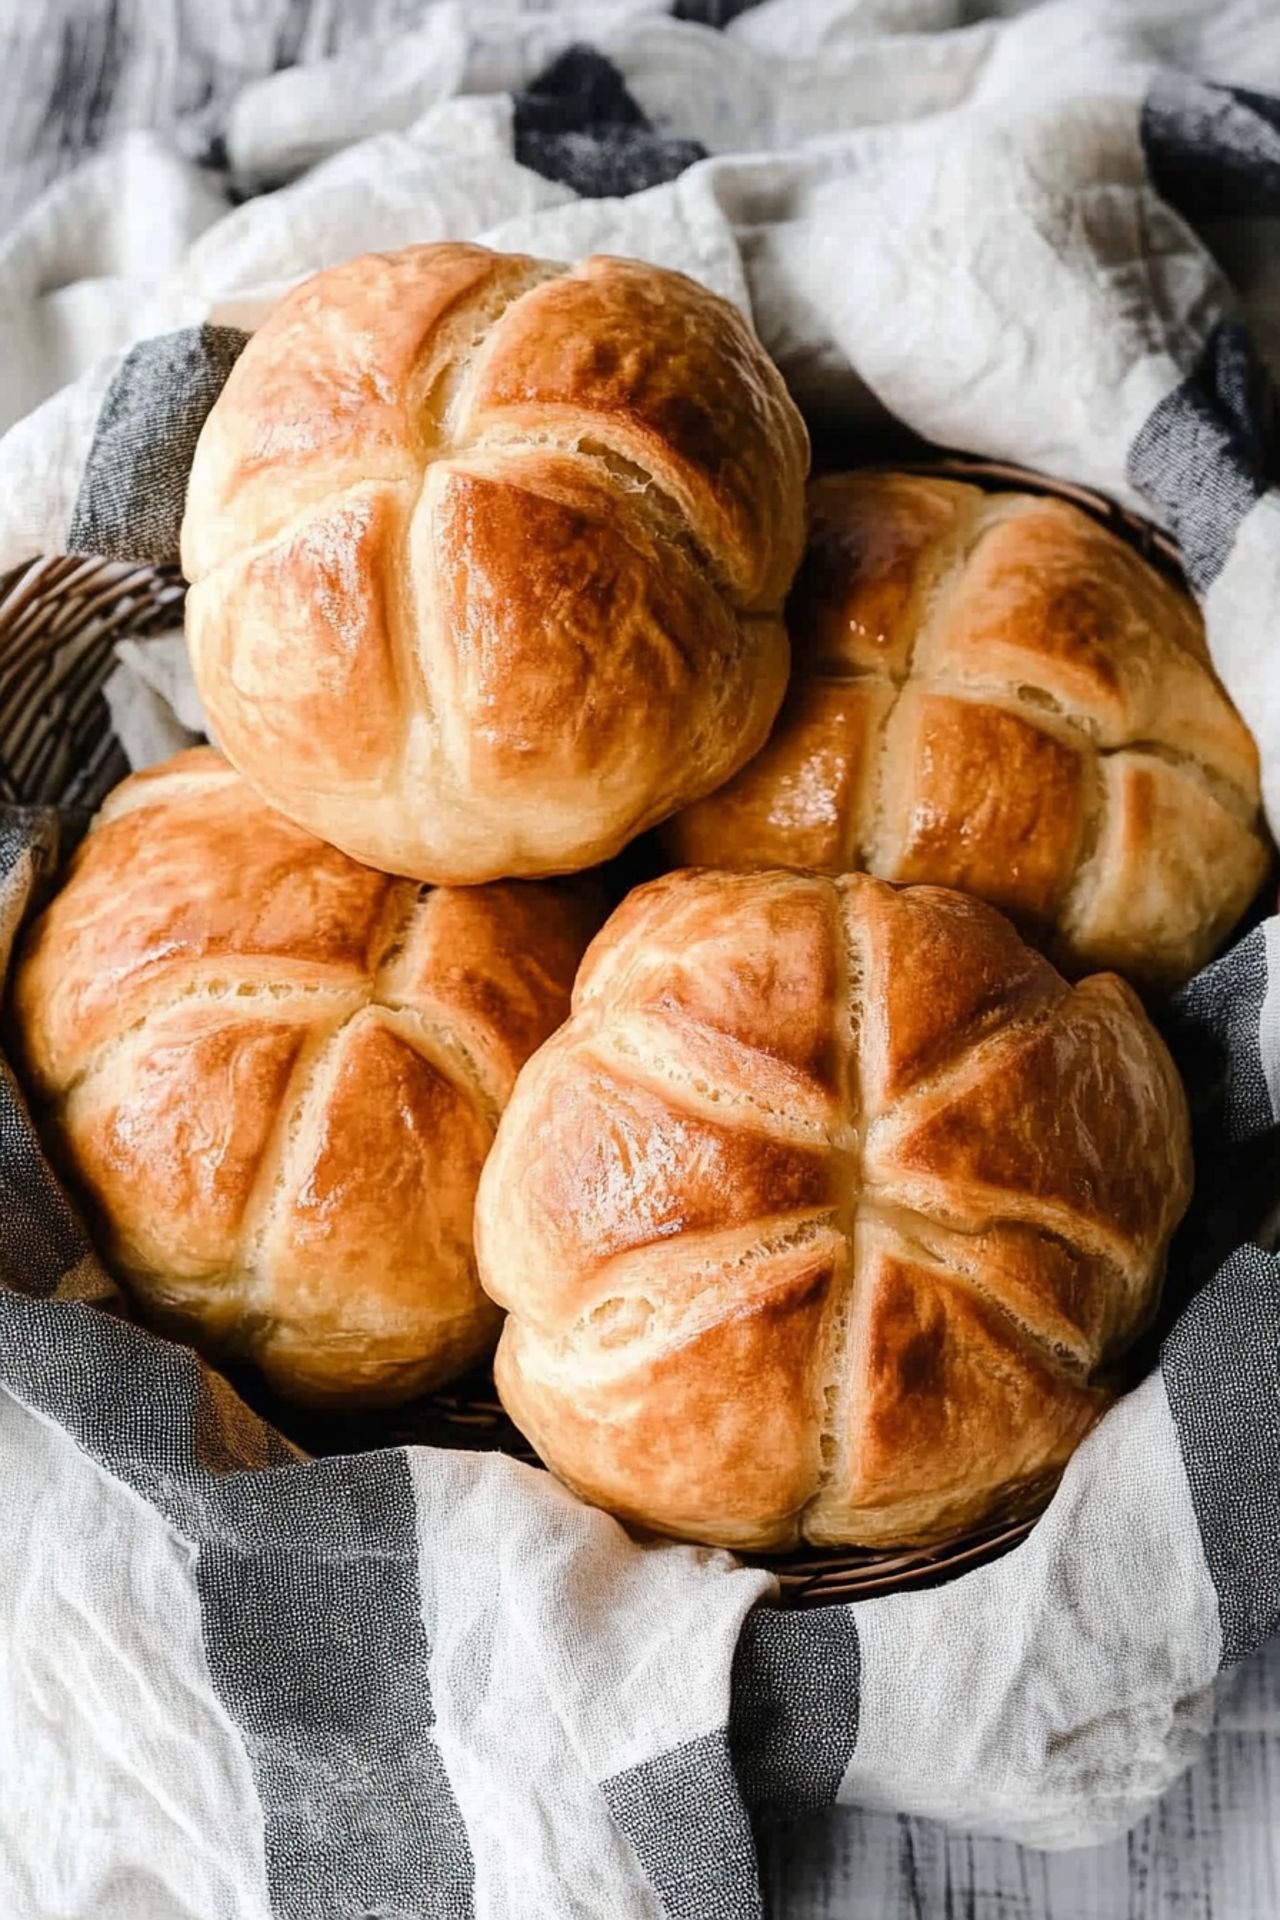
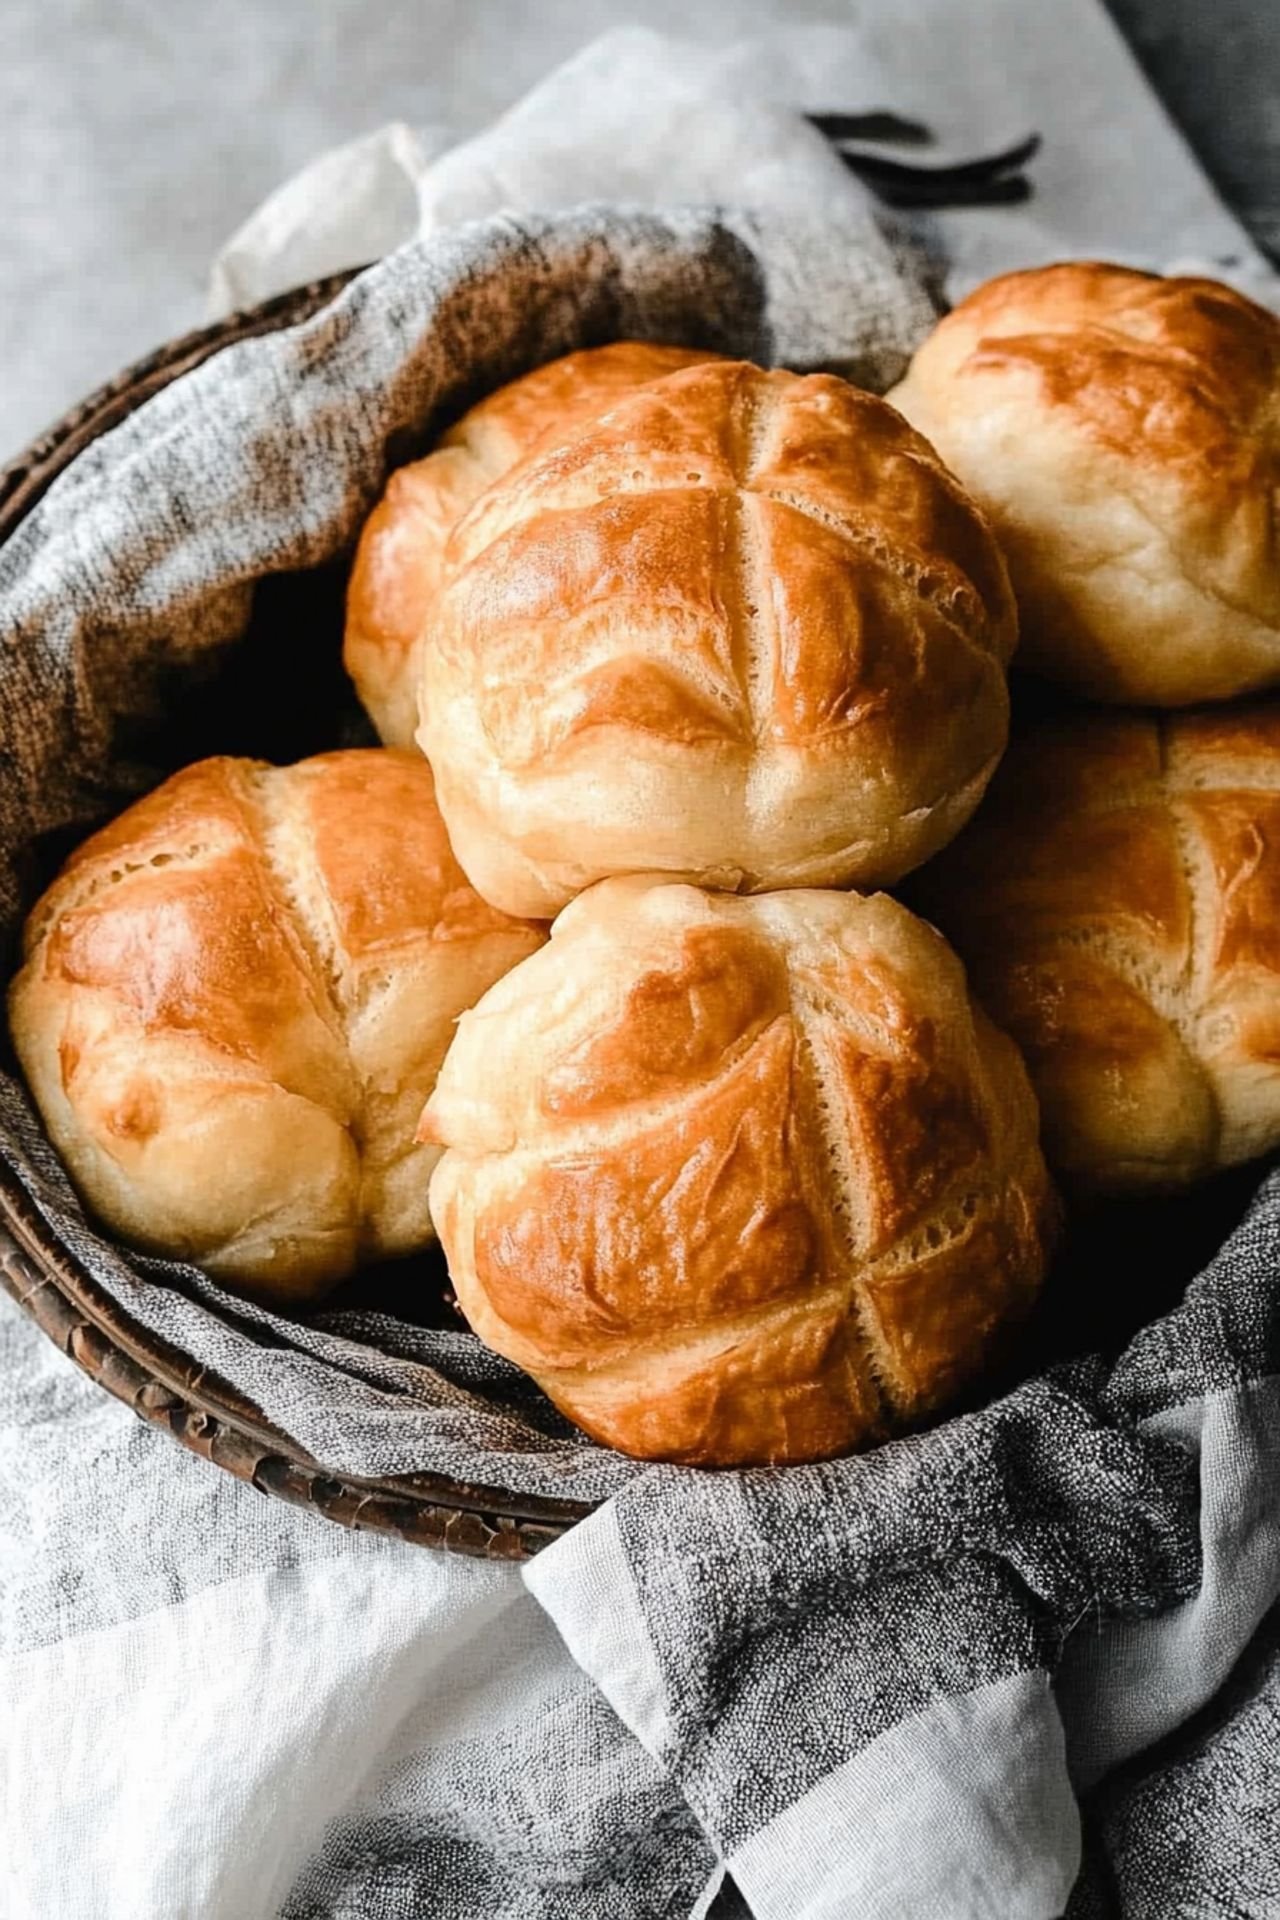
Have you ever had a bun that *pretends* to be a pineapple, but doesn’t taste anything like one? That’s the charm of the Taiwanese Pineapple Bun. The name comes from its criss-cross, golden crust—think pineapple skin—but what you actually get is a sweet, buttery bread with a cookie-like topping that crackles as it bakes. I grew up grabbing these from a little Chinese bakery tucked between a grocery store and a laundromat. The warm, sugary aroma would hit you before you even opened the door. And that first bite? Tender, fluffy bread with a hint of vanilla and a crust that melts into sugary crumbs the second you chew. It’s not fussy. It’s not formal. But it’s pure joy. If you’ve ever been intimidated by baking bread at home, this is a great place to start. The dough is forgiving. The crust comes together like a sugar cookie. And when you pull them from the oven, you’ll feel like you’ve just conquered a small, delicious mountain. So let’s get baking!

Table of Contents
- 1) Key Takeaways
- 2) Easy Taiwanese Pineapple Bun Recipe
- 3) Ingredients for Taiwanese Pineapple Bun
- 4) How to Make Taiwanese Pineapple Bun
- 5) Tips for Making Taiwanese Pineapple Bun
- 6) Making Taiwanese Pineapple Bun Ahead of Time
- 7) Storing Leftover Taiwanese Pineapple Bun
- 8) Try these bread recipes next!
- 9) Taiwanese Pineapple Bun Recipe
- 10) Nutrition
1) Key Takeaways
- This Taiwanese Pineapple Bun is a sweet, soft bread with a crisp cookie crust
- No actual pineapple involved—just a golden top that looks like one
- Perfect as a snack, breakfast, or dessert
- Great entry-level bread recipe for new bakers
2) Easy Taiwanese Pineapple Bun Recipe
This easy dessert recipe combines soft, fluffy bread with a golden cookie topping. That sugary crust cracks as it bakes, giving the bun its iconic pineapple-like pattern—no fruit involved.
I used to beg my mom for these after school. We’d stop by a Chinese bakery where the glass cases were stacked high with warm buns. I’d press my nose to the glass just to spot that flaky top. They’d hand us one in a tiny white bag, and by the time we reached the car, I’d already taken the first bite.
What makes this easy dessert recipe stand out is how approachable it is. You don’t need special tools. Just some patience and a bit of butter. The dough comes together quickly, and the topping feels like mixing cookie batter. Whether you’re baking for fun or feeding a craving, this pineapple bun delivers. Twice. Once with that first crackle, and again when you taste the soft center.
3) Ingredients for Taiwanese Pineapple Bun
Bread flour: Gives the buns structure while keeping the crumb soft and chewy. Go for high-protein flour—it makes a difference.
Sugar: Just enough to add sweetness to both dough and topping without overpowering the flavor.
Salt: Balances sweetness and brings out the richness of the butter. A pinch makes the dough shine.
Instant yeast: No need to proof—just mix and go. It gives the dough a nice, even rise.
Egg: Adds richness and color to the bread. Helps bind the dough, too.
Warm milk: Gives the dough moisture and a subtle sweetness. Think comfort in liquid form.
Heavy cream: Adds richness to the dough. The buns feel indulgent without being dense.
Unsalted butter: Used in both dough and topping. It’s what makes this an easy dessert recipe worth repeating.
Powdered sugar: For the topping. It gives that delicate, crumbly finish.
Egg yolk: Helps bind the cookie-like topping and adds a golden hue when baked.
Cake flour: Makes the topping tender and easy to crackle. Lower protein than bread flour.
Milk: A splash smooths out the topping dough without making it sticky.
Baking powder: Just a little to help the topping puff ever so slightly in the oven.
Vanilla extract: A warm, sweet aroma that rounds out every bite.
Egg wash: One yolk and a splash of milk for that bakery-style golden finish.

4) How to Make Taiwanese Pineapple Bun
Step 1. Mix the bread flour, sugar, salt, and yeast in a large bowl. Combine your warm milk, cream, and egg, then stir that into the dry stuff until a shaggy dough forms.
Step 2. Knead the dough with butter until smooth and stretchy. You’ll know it’s ready when it passes the windowpane test. Let it rise until doubled in size—roughly 90 minutes in a warm kitchen.
Step 3. Meanwhile, cream butter and powdered sugar for the topping. Add the yolk, vanilla, milk, cake flour, and baking powder. Divide the topping dough, shape into balls, and flatten into discs. Chill them so they’re easy to handle later.
Step 4. After the dough rises, punch it down and divide into 8 equal pieces. Roll each into a ball. Let them rest 15 minutes to relax the gluten.
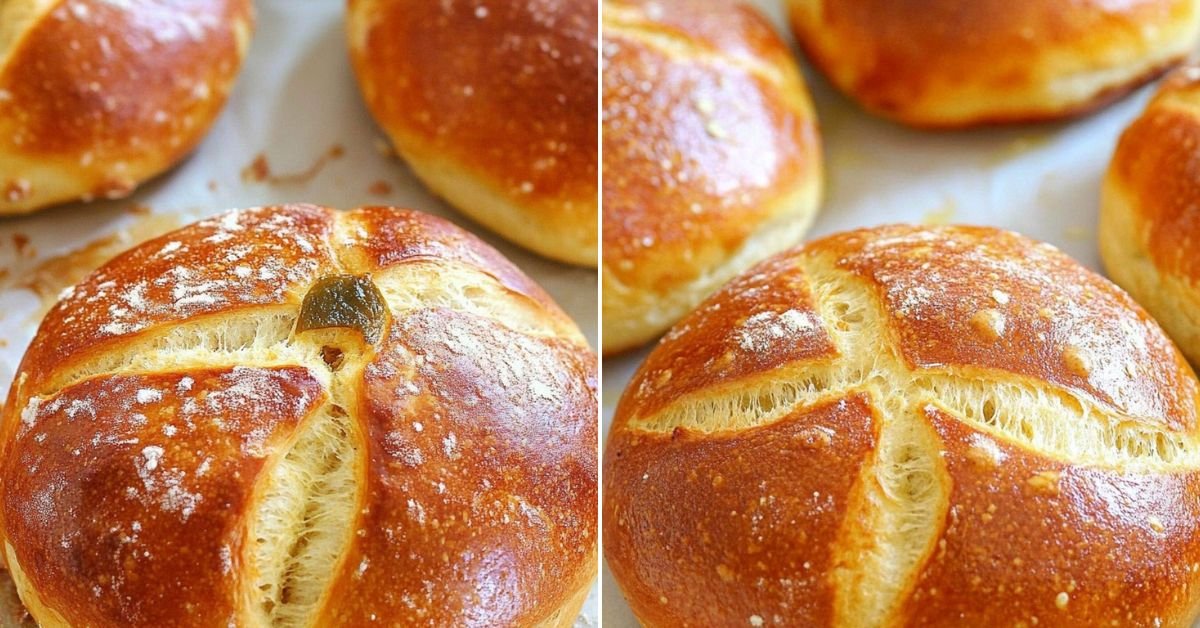
Step 5. Press one topping disc onto each bun. Lightly score a criss-cross pattern with a knife (this gives it that signature look). Let the buns rise again until puffy—about 30 minutes.
Step 6. Brush each bun with the egg wash. Bake at 350°F for 18 to 22 minutes, or until the tops are golden and cracked.
5) Tips for Making Taiwanese Pineapple Bun
Use bread flour, not all-purpose. The higher protein helps build structure, giving you that bakery-style chew. This is one of those easy dessert recipes that benefits from the right kind of flour.
Don’t skip chilling the topping. If it’s too soft, it’ll melt before it bakes, and you won’t get that classic crackly look.
Score lightly. You’re not slicing into a steak. A shallow criss-cross is all it takes to get that pineapple-like pattern as it bakes.
Let the dough fully rise. If you rush it, the buns will be dense. Go by volume—not the clock. Dough should double in size before shaping.
6) Making Taiwanese Pineapple Bun Ahead of Time
Want fresh buns in the morning without waking at dawn? I’ve got you. Once you shape the buns and add the topping, pop them in the fridge overnight. Just be sure to cover them well with plastic wrap.
The next day, let them come to room temperature for about an hour before baking. That second rise still needs to happen, but chilling slows everything down—perfect for prepping ahead.
The topping holds up well, even overnight. So yes, you can have bakery-level buns with a lazy morning. No shame in that.
7) Storing Leftover Taiwanese Pineapple Bun
These buns are best the day they’re made, but you can store them in an airtight container for up to two days. After that, they’ll lose some of their softness and that signature crunch.
If you’re eating them the next day, pop one in the microwave for 10 to 15 seconds. It won’t fully restore the crispy top, but it brings back the warm, soft center.
Skip the fridge. The cold dries them out. Room temperature is the sweet spot. And let’s be honest—these don’t usually last long enough to store.
8) Try these bread recipes next!

9) Taiwanese Pineapple Bun Recipe

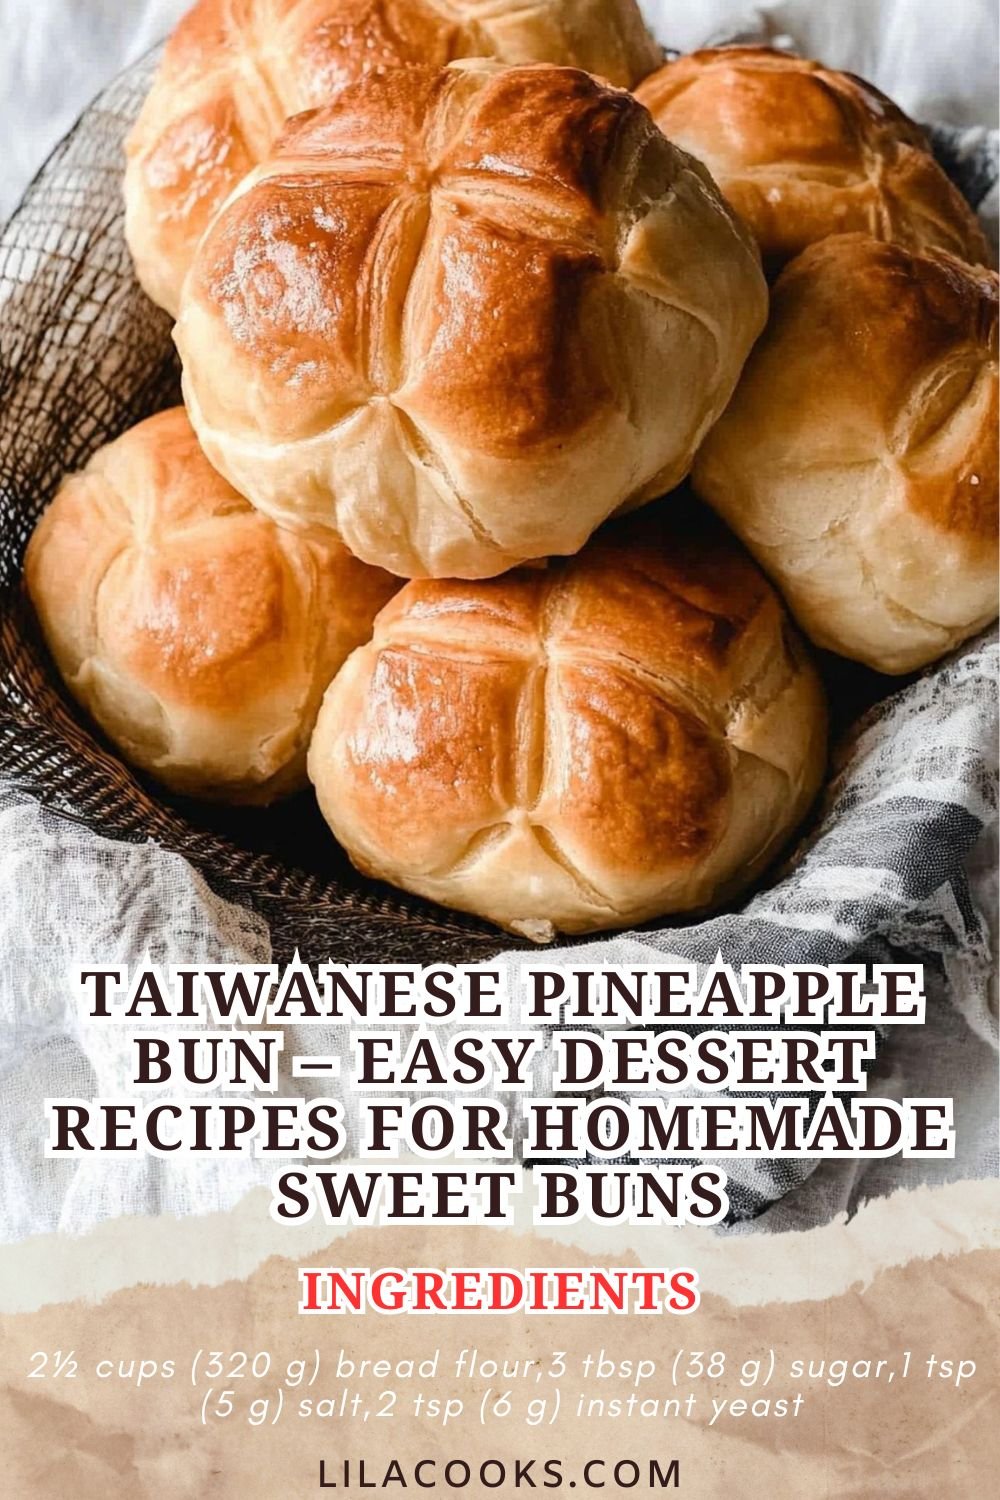
Taiwanese Pineapple Bun – Easy Dessert Recipes for Homemade Sweet Buns
Ingredients
For the Dough
- 2½ cups (320 g) bread flour
- 3 tbsp (38 g) sugar
- 1 tsp (5 g) salt
- 2 tsp (6 g) instant yeast
- 1 large egg
- ½ cup (120 ml) warm milk
- ¼ cup (60 ml) heavy cream
- 2 tbsp (28 g) unsalted butter, softened
For the Topping
- 1/3 cup (75 g) unsalted butter, softened
- ½ cup (60 g) powdered sugar
- 1 large egg yolk
- 1 cup (120 g) cake flour
- 1 tbsp (15 ml) milk
- ¼ tsp baking powder
- ½ tsp vanilla extract
For the Egg Wash
- 1 egg yolk
- 1 tbsp milk
Instructions
Make the Dough
- Combine bread flour, sugar, salt, and yeast in a large bowl.
- Add warm milk, cream, and egg. Mix until a shaggy dough forms.
- Knead in butter and continue kneading until smooth and elastic—about 10 minutes by hand or 5 minutes in a mixer.
- Cover and let rise in a warm place until doubled, about 1 to 1.5 hours.
Prepare the Topping
- Cream the softened butter and powdered sugar together until light and fluffy.
- Mix in egg yolk, then add vanilla, baking powder, and milk.
- Stir in the cake flour and mix until a dough forms.
- Divide into 8 pieces, roll into balls, and flatten into discs. Chill while the dough rises.
Shape the Buns
- Once the dough has doubled, divide it into 8 equal pieces and roll each into a ball.
- Cover and rest for 15 minutes.
- Place a topping disc on each bun, lightly pressing down and scoring a criss-cross pattern with a knife.
Final Rise & Bake
- Let the buns rise again for 30 minutes.
- Preheat the oven to 350°F (175°C).
- Brush the buns with egg wash.
- Bake for 18–22 minutes or until the topping is golden and cracked.
10) Nutrition
Serving Size: 1 bun | Calories: 270 | Sugar: 8 g | Sodium: 210 mg | Fat: 11 g | Saturated Fat: 6 g | Carbohydrates: 37 g | Fiber: 1 g | Protein: 6 g | Cholesterol: 45 mg


Leave a Comment